FLASH SALE Get 20% OFF everything using the coupon code: FLASH20 View Pricing Plans →
When you install WPZOOM Forms PRO, a basic example form is created automatically to help you get started. Additionally, the plugin features a collection of ready-to-use templates for creating custom forms. This guide walks you through the process of creating a new form using one of those templates.
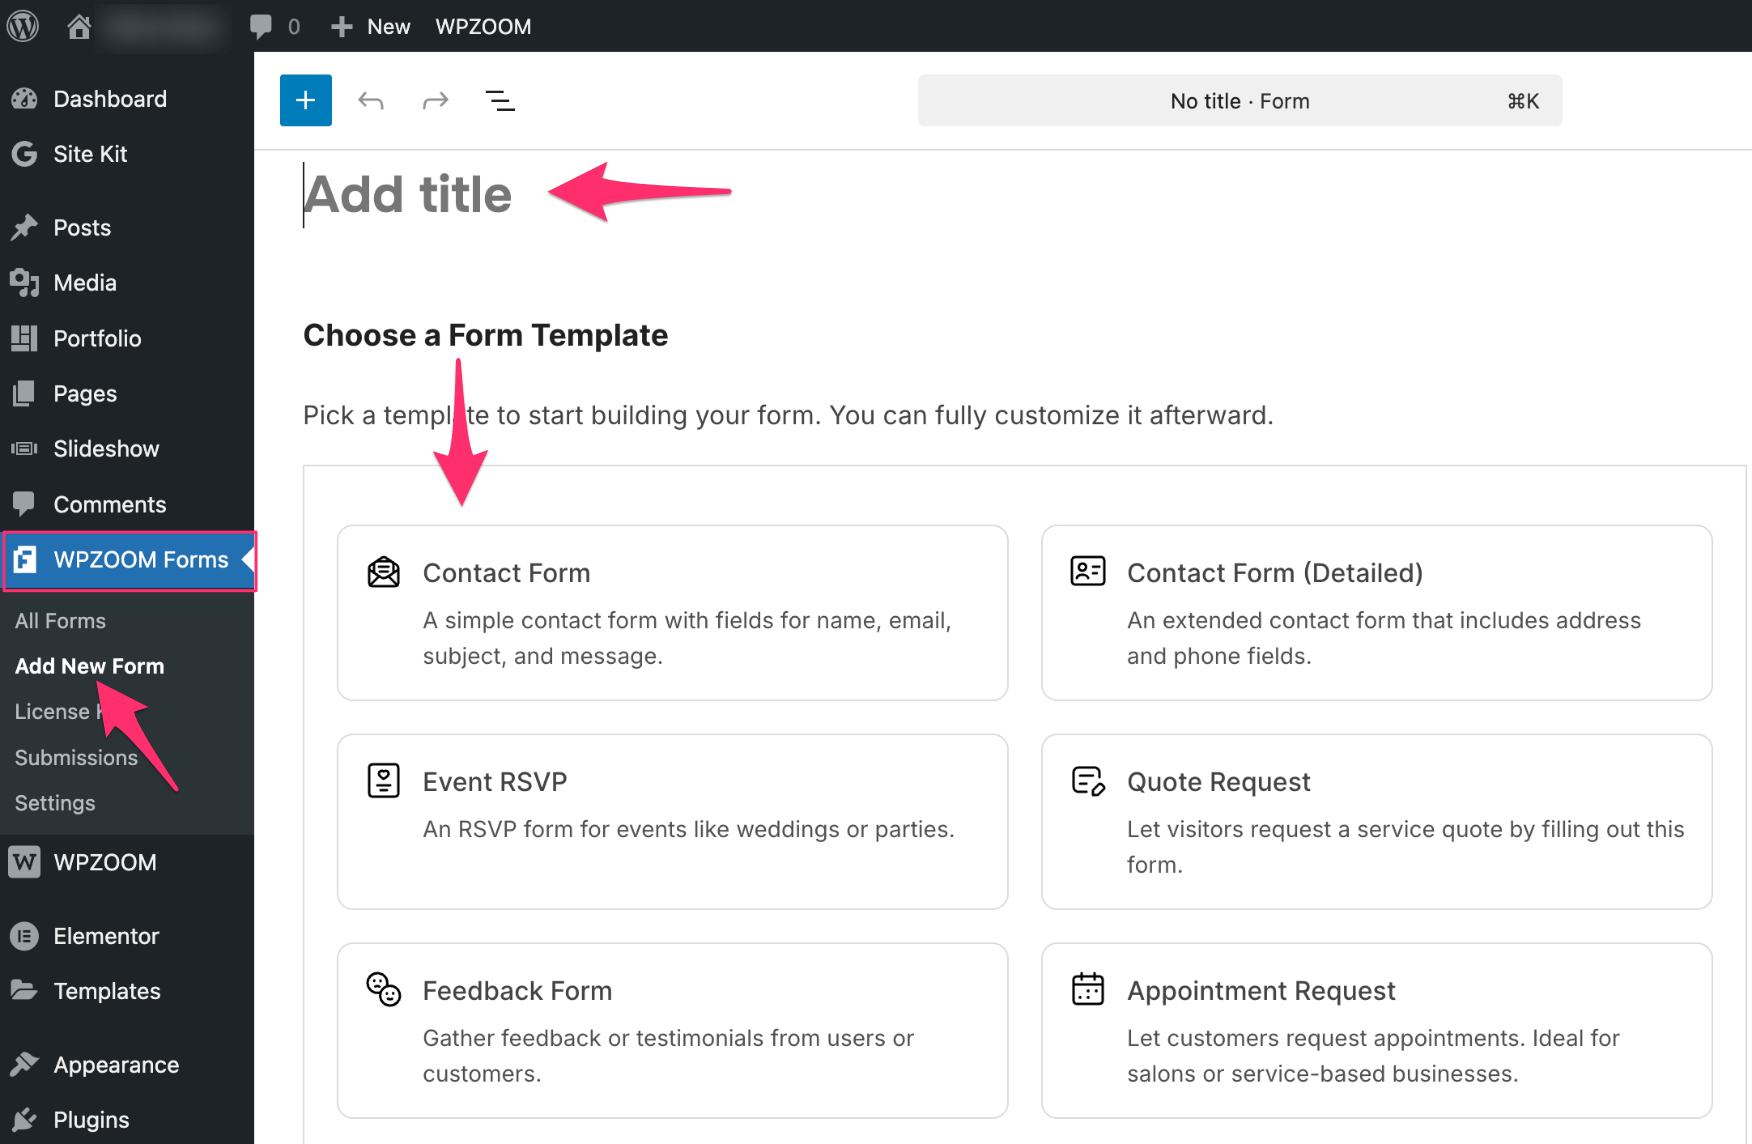
To create a new form:
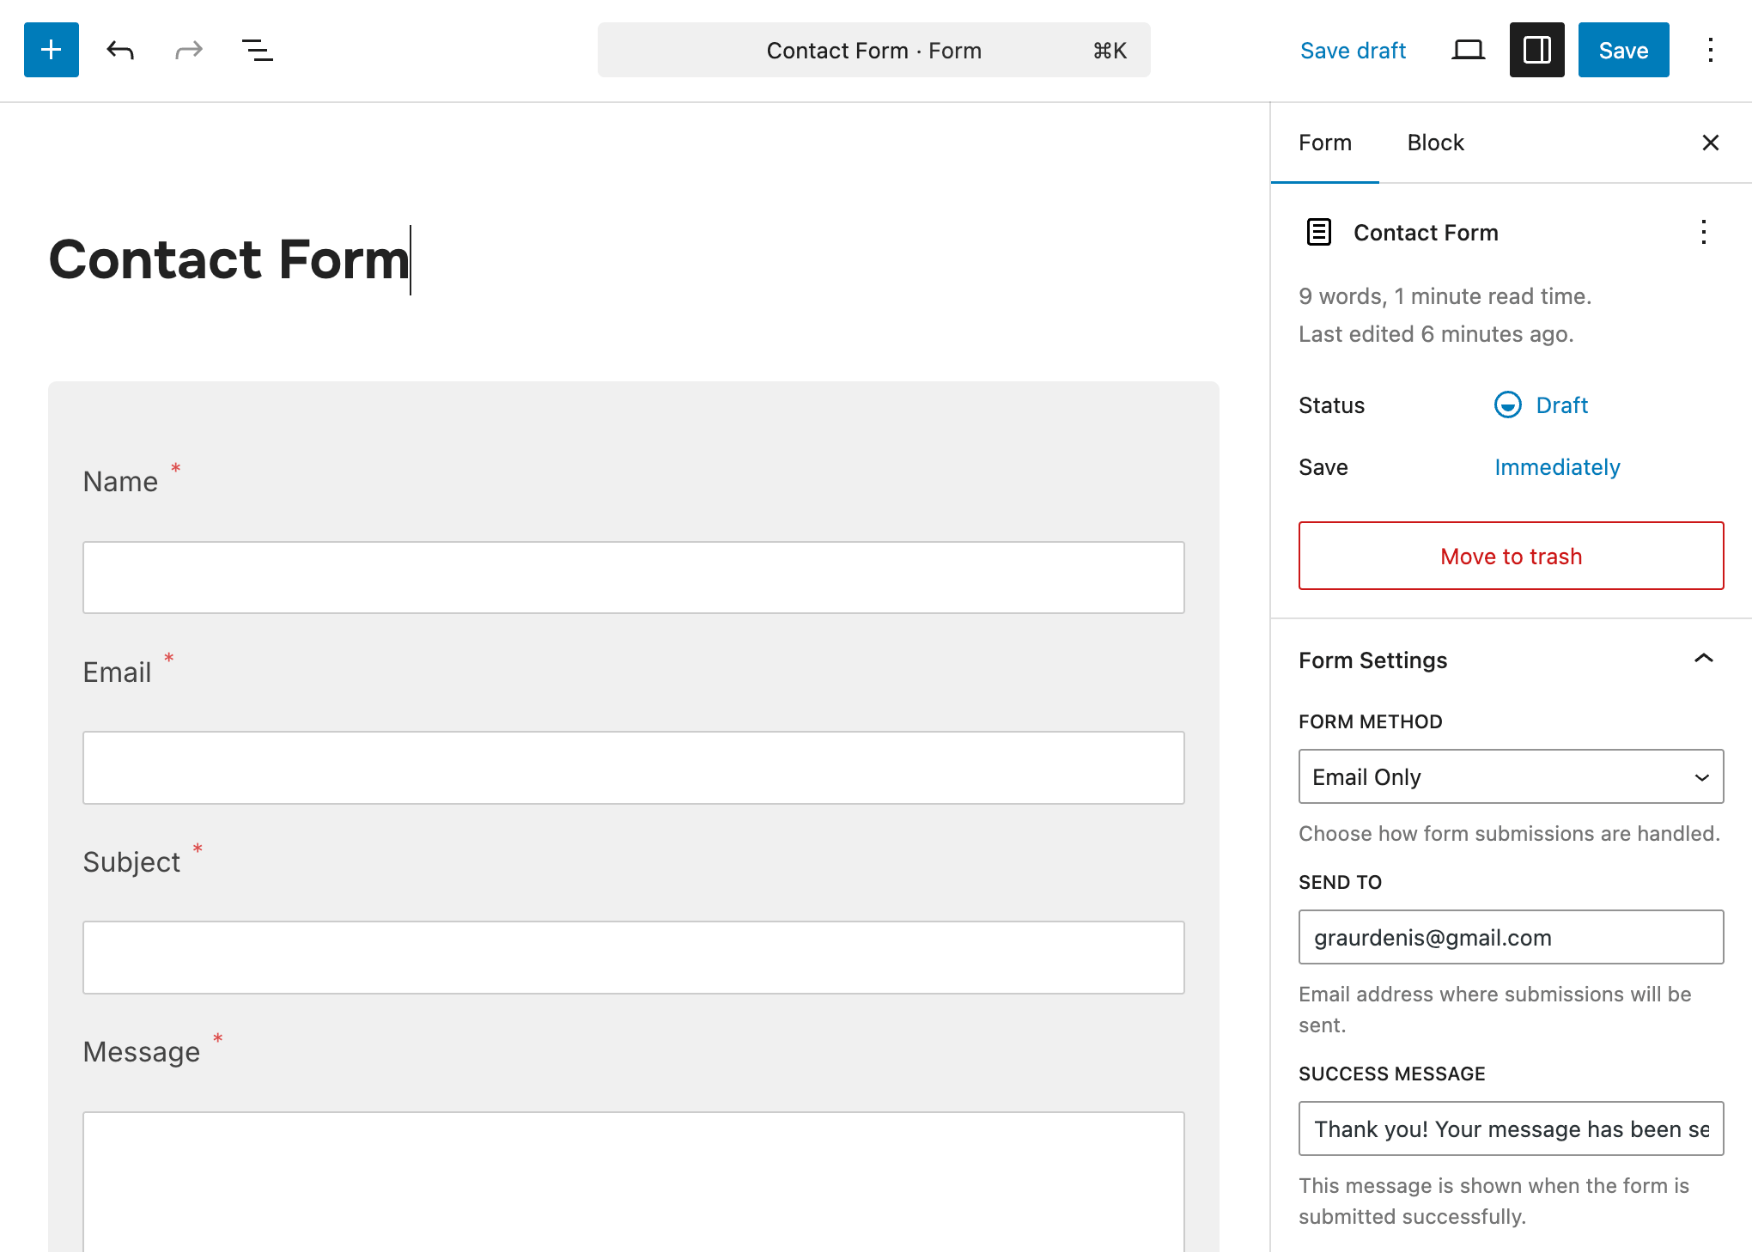
Once the form template is loaded, you can modify it to fit your needs:
Edit Field Labels and Placeholders – Click any field to update the text shown to users.
Add or Remove Fields – Use the right sidebar to add new fields or delete existing ones.
Reorder Fields – Drag and drop blocks within the editor to change their position.
Adjust Form Settings – In the block sidebar, configure:
For a more detailed guide on customizing form settings and fields, see Managing and Customizing Forms.
When you’re finished customizing, click the Save button in the top-right corner of the editor.
After saving, a shortcode will be available in the form sidebar. You can copy this shortcode to embed the form in posts, pages, or widgets.
What’s Next?